How I built a scalable single-vendor e-commerce with 101 customisability
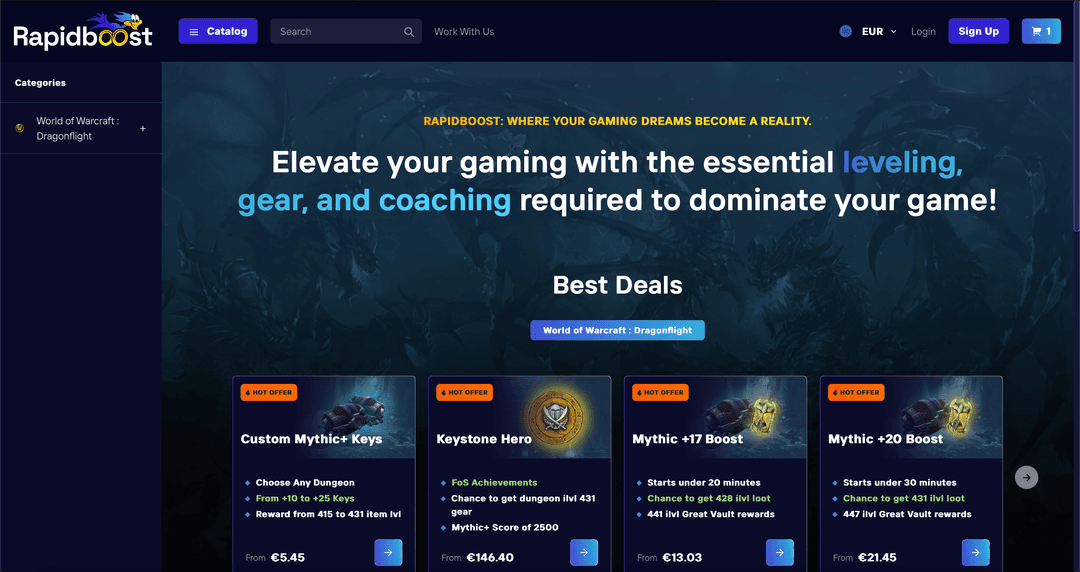
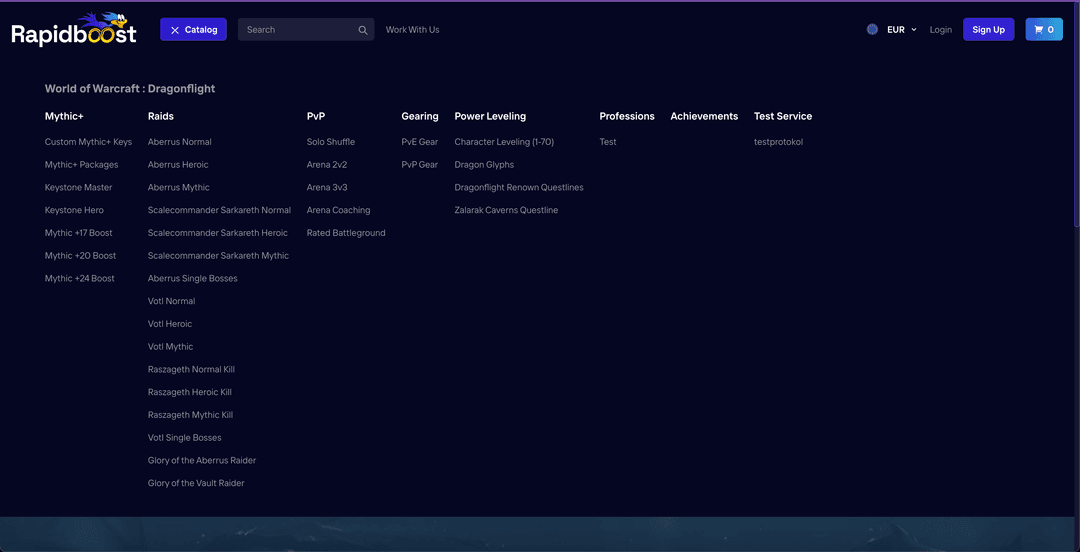
Rapid boost is a single-vendor service-oriented e-commerce platform. Built on Nextjs, firebase, sanity, with PayPal, it provides a clean solution for the admin to add or remove services and their input fields like magic. Every content on the website is dynamic through CMS.
In late April and early May I was waiting for my internship at Uber to start, during that time I decided to find a small freelance project before joining my internship. Soon I got a text from a great client on Fiverr. He came up to me with an interesting problem. He wanted to build a single vendor service based e-commerce. He showed me an example site i.e. https://overgear.com. It has multiple services to buy and each service has a unique calculator to calculate the pricing for that service.
My first thoughts were:
- Frontend framework - Nextjs ✅
- Backend - Firebase (Don't wanna overcomplicate) ✅
- Content Management for Admin - Sanity (Lightweight and flexible) ✅
- Static Site Generation at build time, as the services won't change very often after the release! ✅
- Payment gateway - Stripe/Paypal ✅
- Global State management - React Context API (Redux is a stupid overkill) ✅
- Custom calculator for each service 👁️👁️
Problem
As you can see, rest everything was straightforward for me - thanks to years of experience - but the custom calculator's content management was intriguing me. (The checkout, page generation, caching, UI components, frontend for calculator and other things were tricky as well, but at least I knew what I have to do).
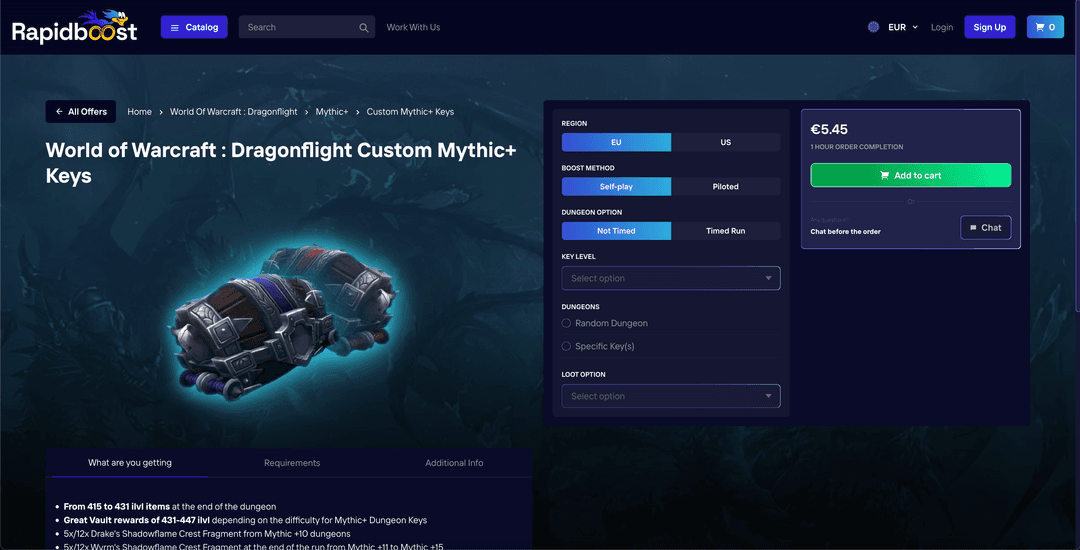
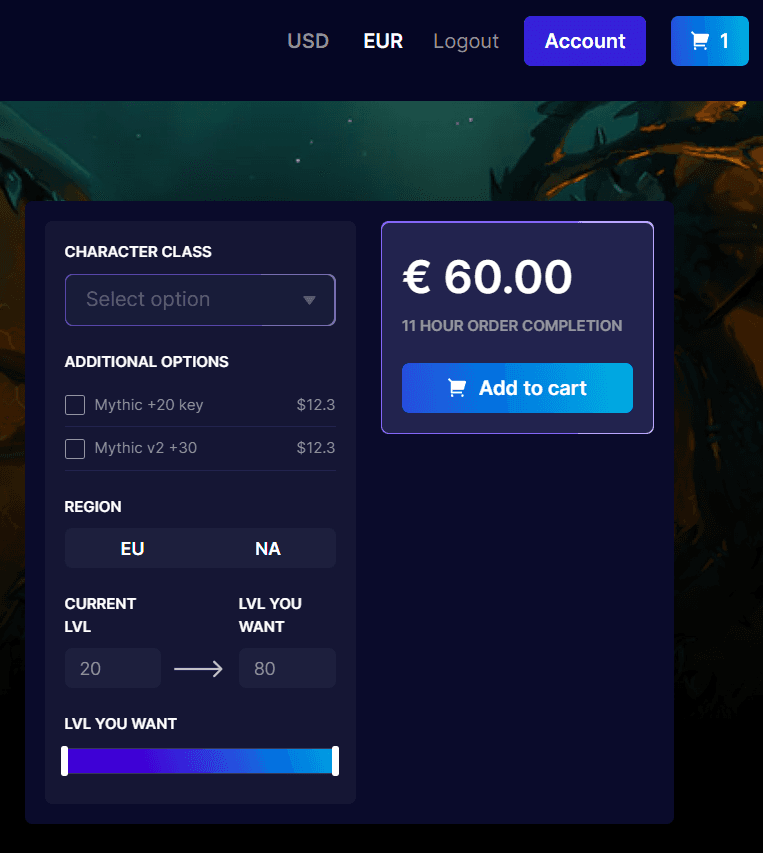
The problem with the calculator was that the client wanted an admin panel to edit and modify the calculator for each service. If you look at the calculator below, you will notice it's tricky enough to be built statically, but having it different for each service and having it dynamic as well..... Well, that was way beyond my scope, At least thats what I thought.
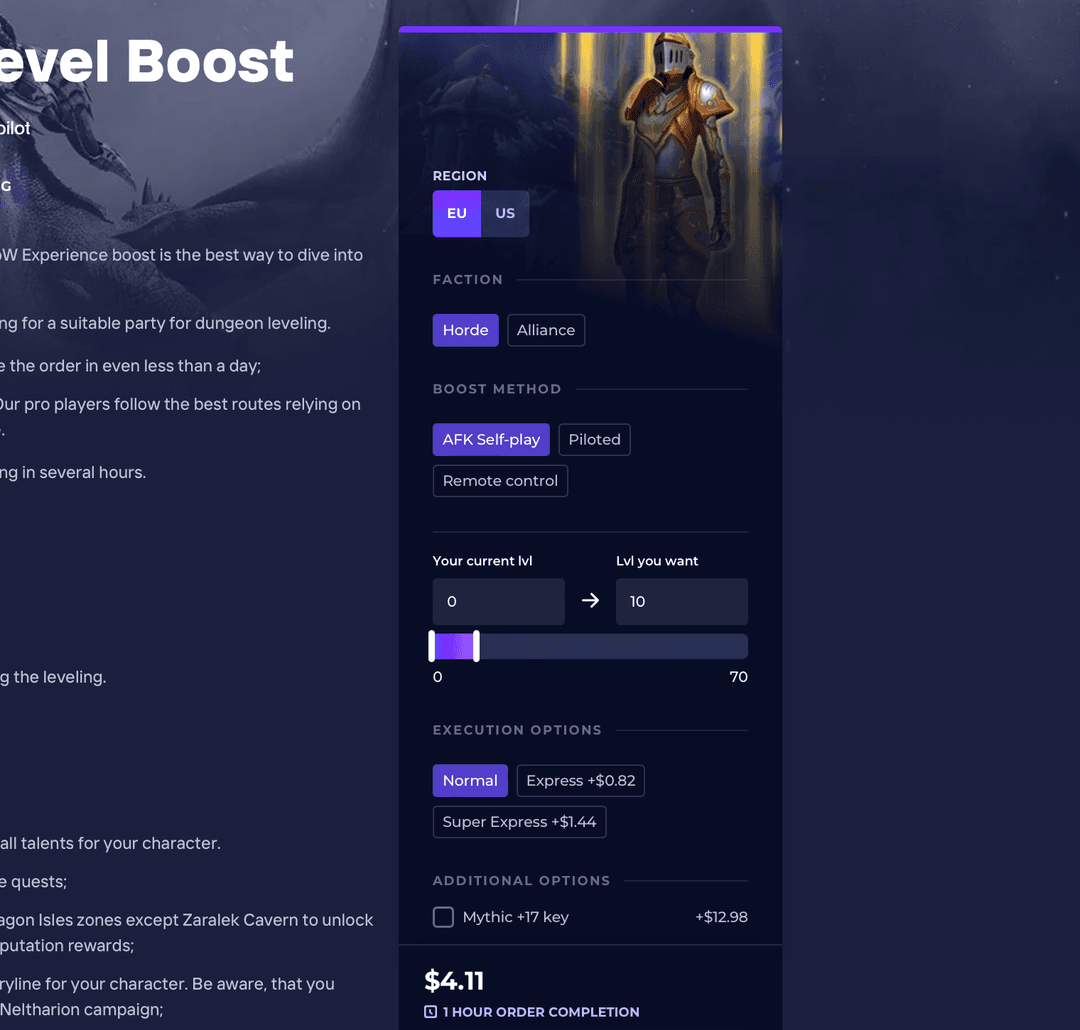
If you visit Power Leveling, and try to change some of the settings it is reflected in the price! If you visit some other service it has a different settings menu with different impacts on price!
Breaking it down
After researching the solutions by Overgear, I realised there are two major parts to the problem:
- Dynamic Components
- Dynamic price for a component
Majorly there were 4 Components:
- Dropdown
- Range
- Button
- Multiselect
Dropdown
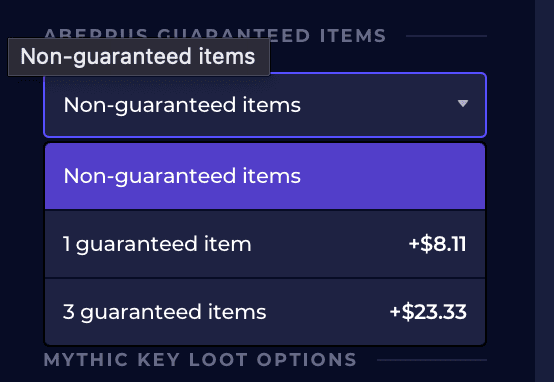
The pricing for this is based on the option selected. So I need to give admin the access to add option with price for each option
Range
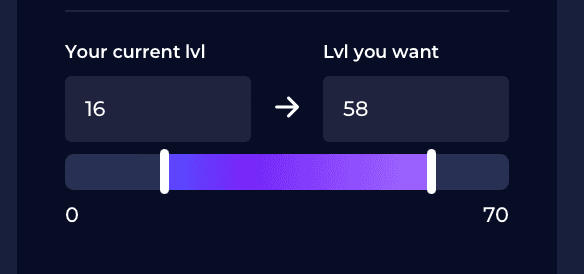
The pricing for this is pretty complicated. Level 0 to 10 has a different impact, while 50-60 has a different impact.
I had to give an option to the admin to add multiple stops and define price for each stop from the previous stop. Basically creating segments of prices.
Button

Simple as dropdown with price for the selected button
Multiselect
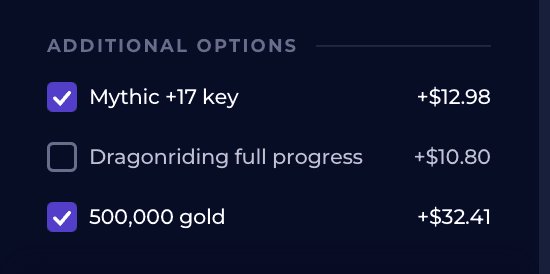
Simple as dropdown but instead add the prices of each selected option.
Solution
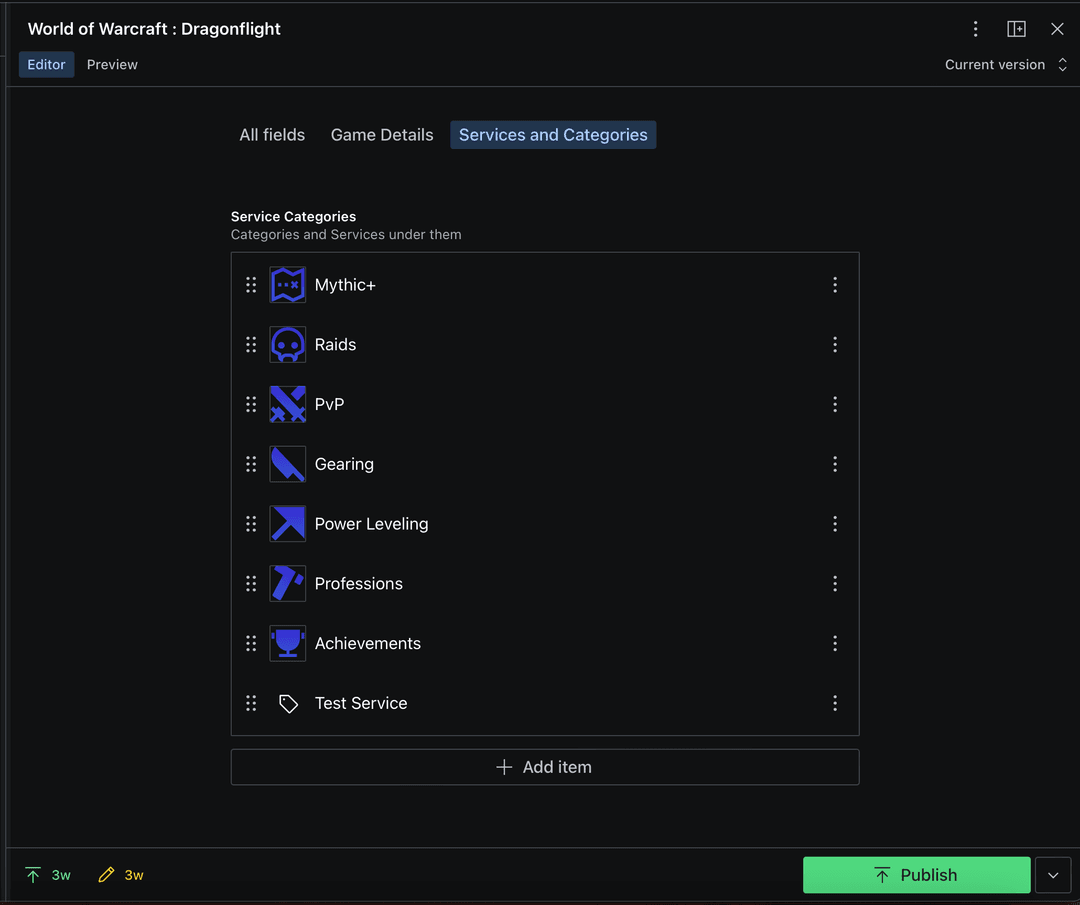
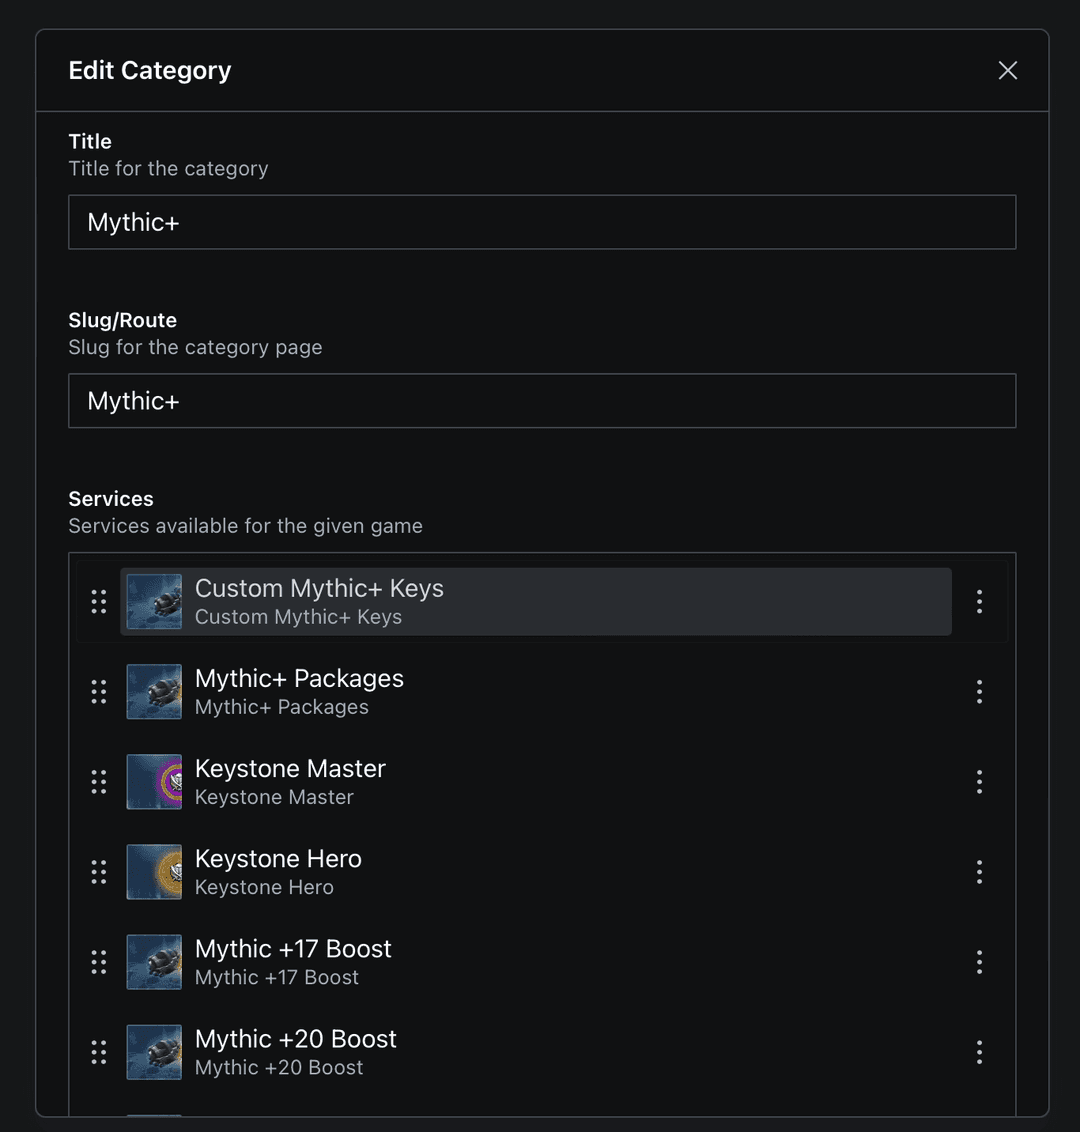
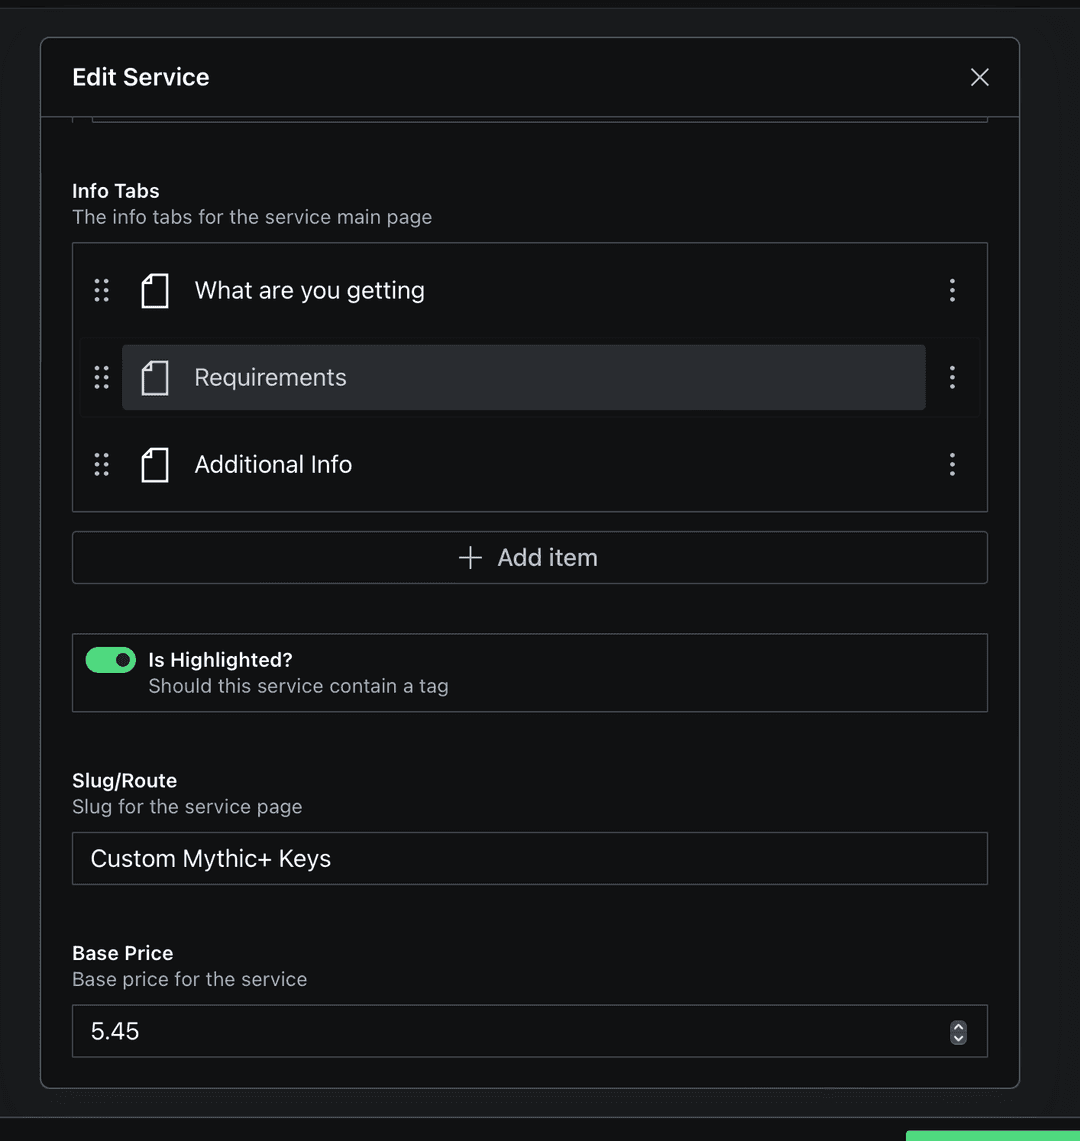
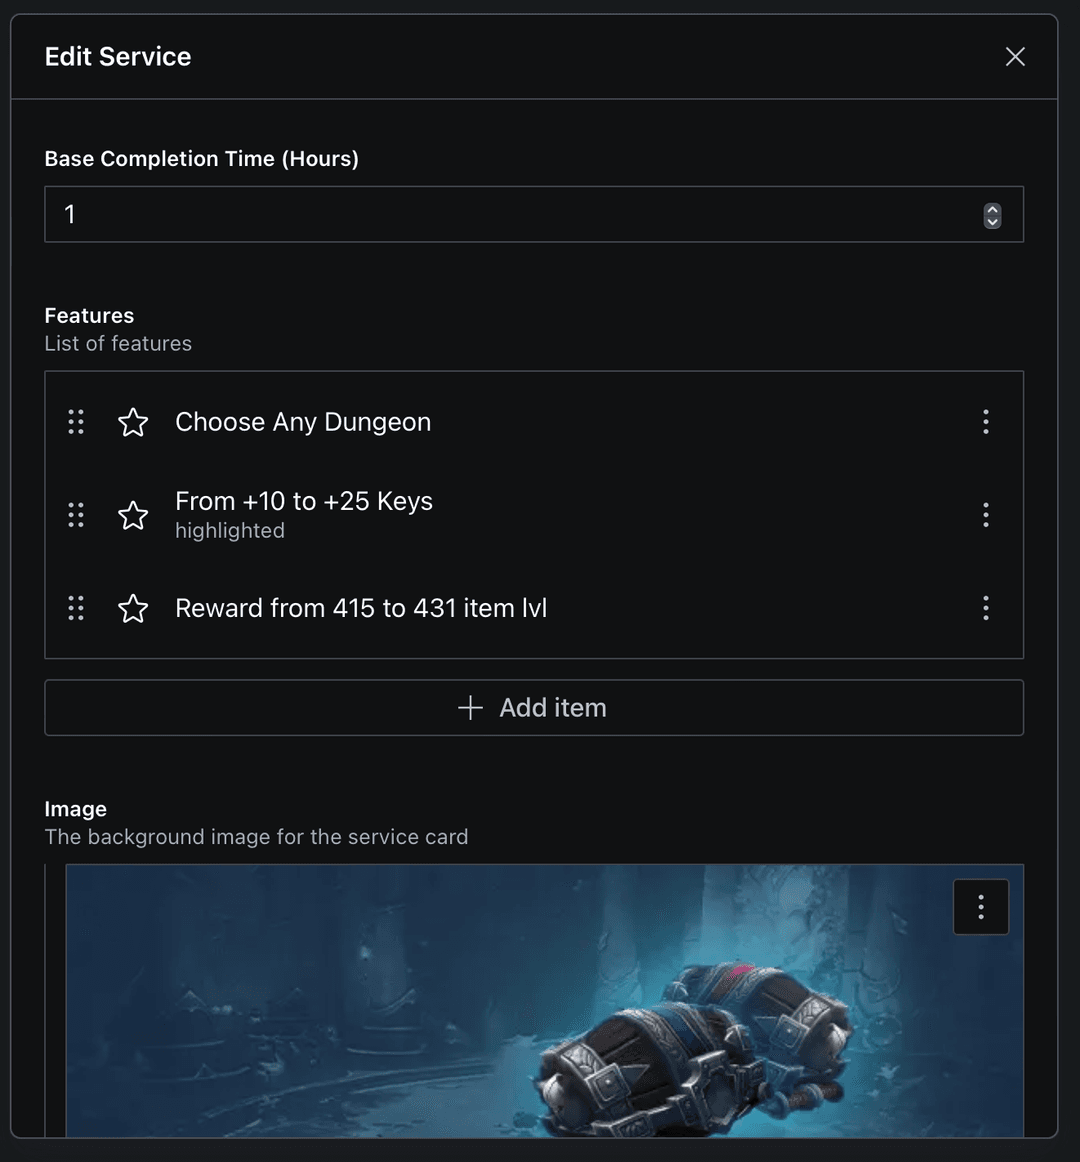
The solution on Sanity comprised of multiple games, categories and services. It also included a preview mode (Implemented using next.js preview mode) which basically shows how the website will look with the live changes you are making by setting cookies to use the draft data from sanity. Here are a few snapshots from the Sanity dashboard.
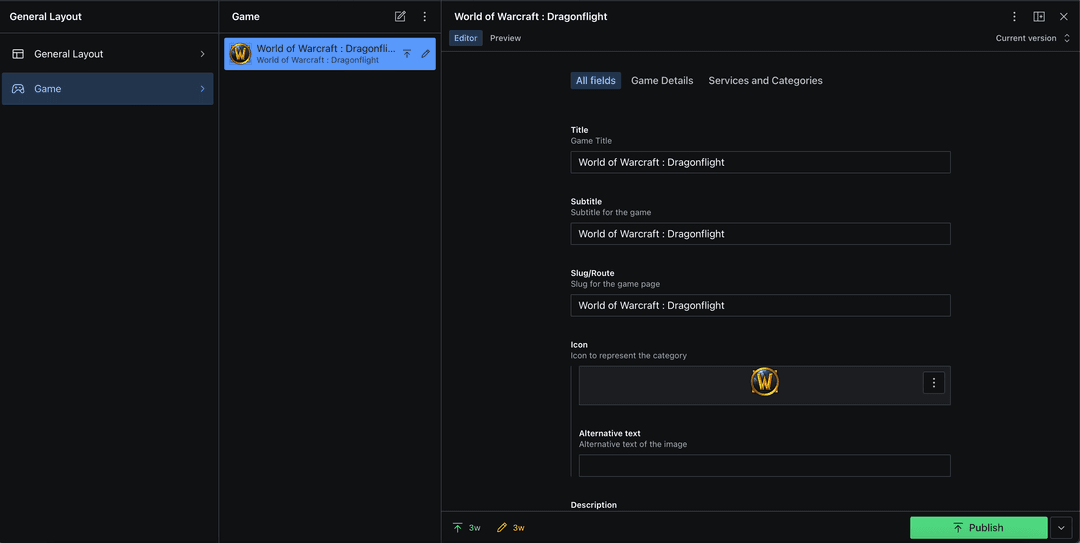
Each game had multiple categories.
Each category had multiple services.
Each service had plenty of metadata
All this data is mapped to the frontend during build time, to render a fast and lightweight website. But we still haven't covered the calculator aspect of the Service. Let's see the problems in detail.
1. Dynamic Components
In each service, there is an option to add a Calculator which is an array of multiple components.
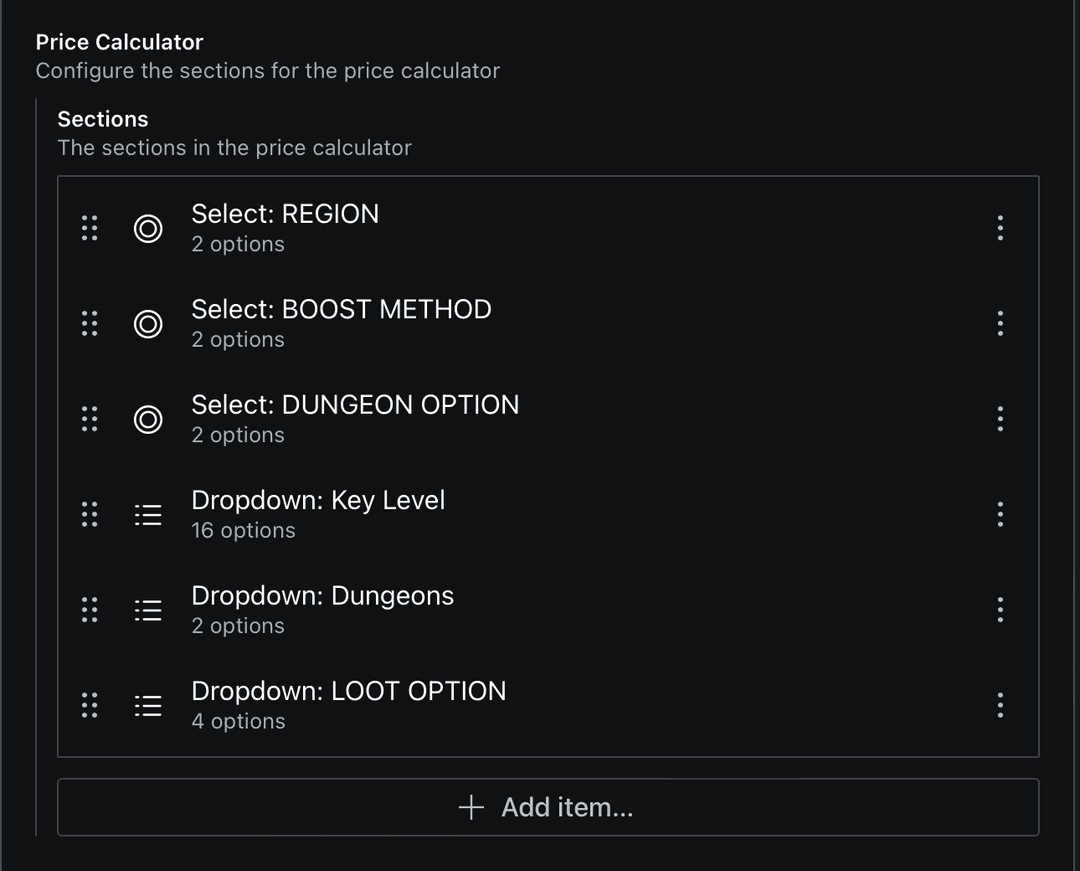
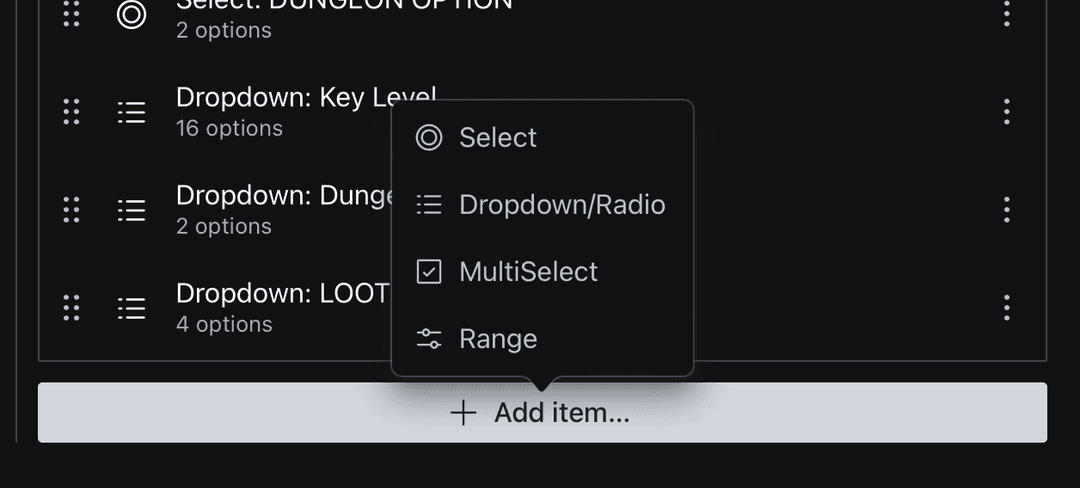
Each component can be one out of 4 components I talked about earlier. The admin can create the mixed array in the same order they want the frontend to display it.
In the frontend, I map the array and based on the component's _type property (Auto generated by Sanity), I render its component and pass all the data coming along with it.
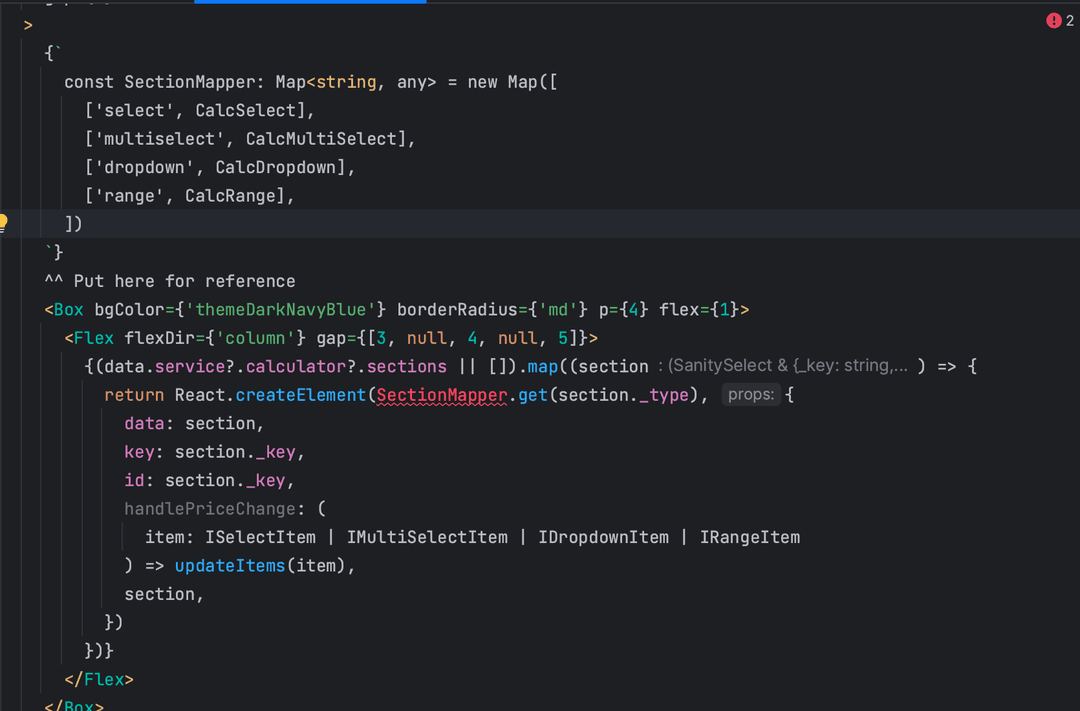
This way the admin can define the order and component to display.
2. Dynamic price for a component
Once the admin has decided on which component to add, they get an option to select the price for it.
For example - A dropdown has a price (value) associated with each option that gets added to the total on selecting.
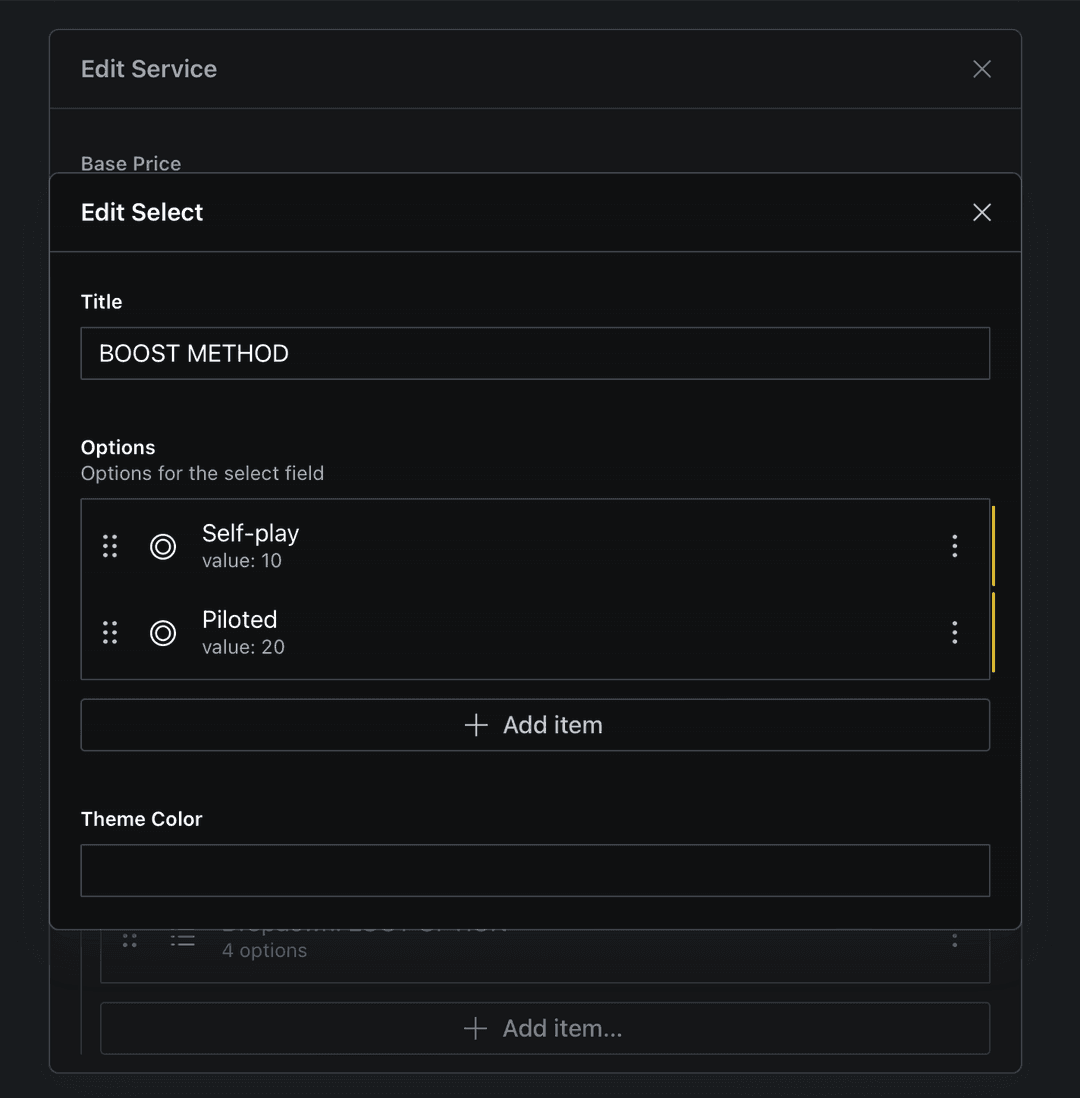
In the frontend I use a wrapper called Calculator that gives a helper function to each component to add/subtract from the price.

A fun problem
For the Range selector, the price increases exponentially. Basically levelling up from level 1->10 is far easier than 60->70, and thus the client wanted a dynamic pricing for range.
Earlier I had provided a price field for the difference, so if the difference in level is 10, the total price added would be price*10. But in this scenario, levelling up from 1->10 and 60->70 would both render the same price.
To solve this I gave the client an array of pricing, where they can define stoppers and the price for them. So they can set a different price for 1 ->20, 21->40, 41->60, and so on.
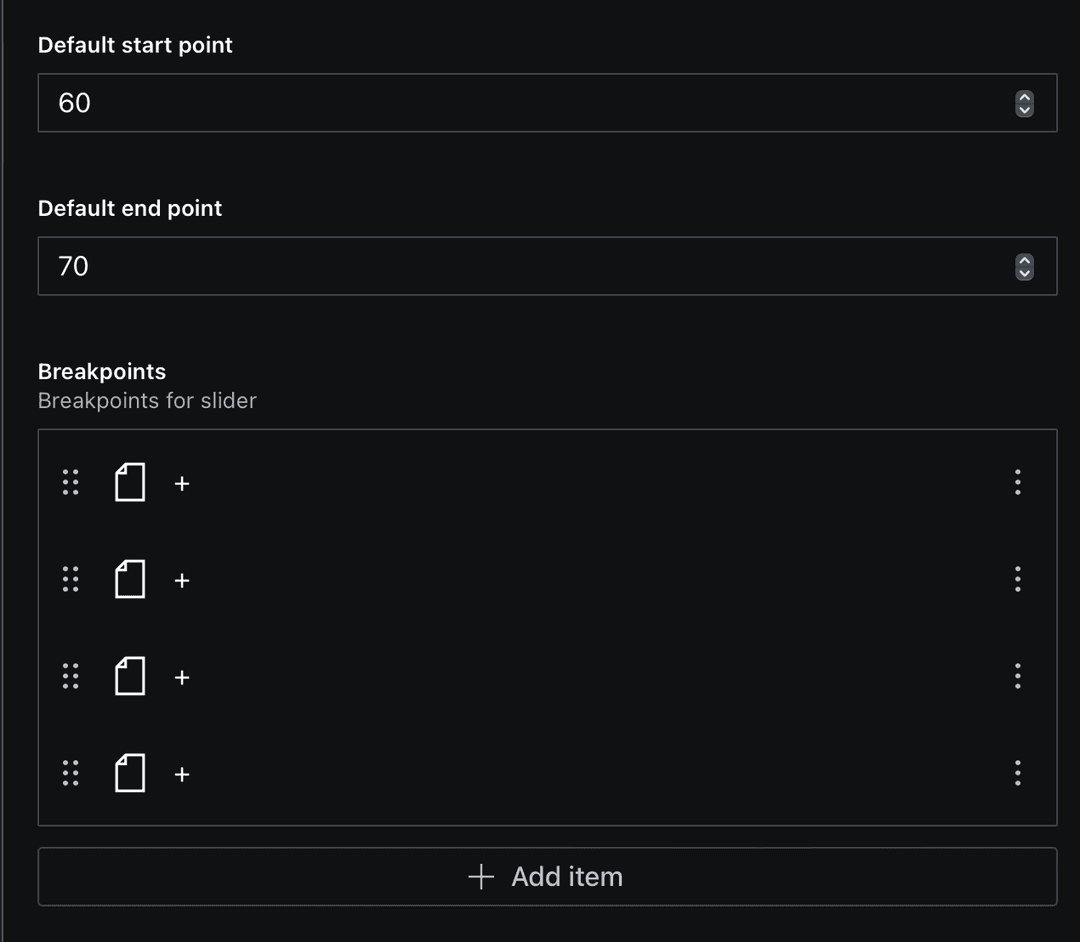
This breakpoint adds price $20 till level 20
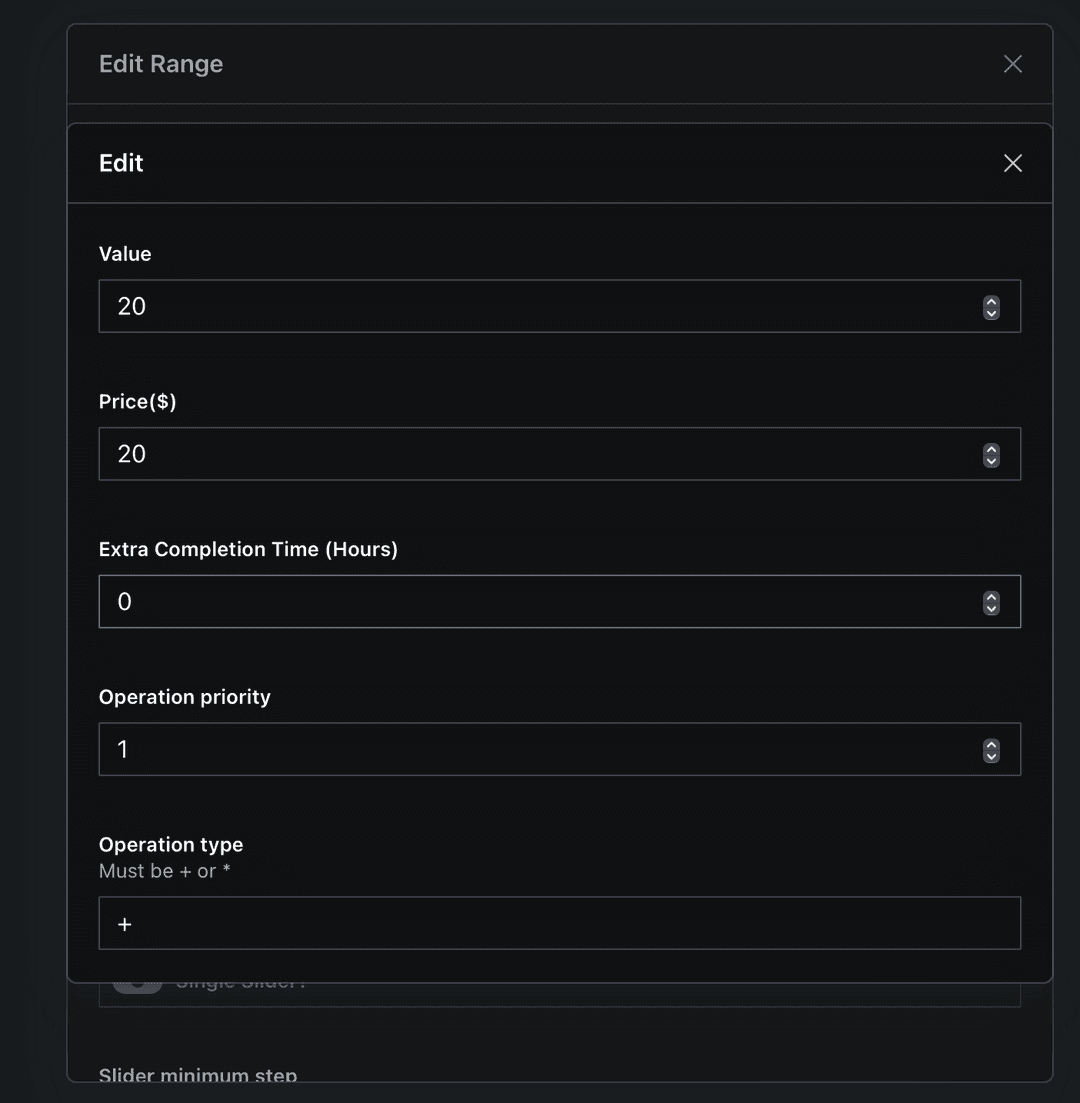
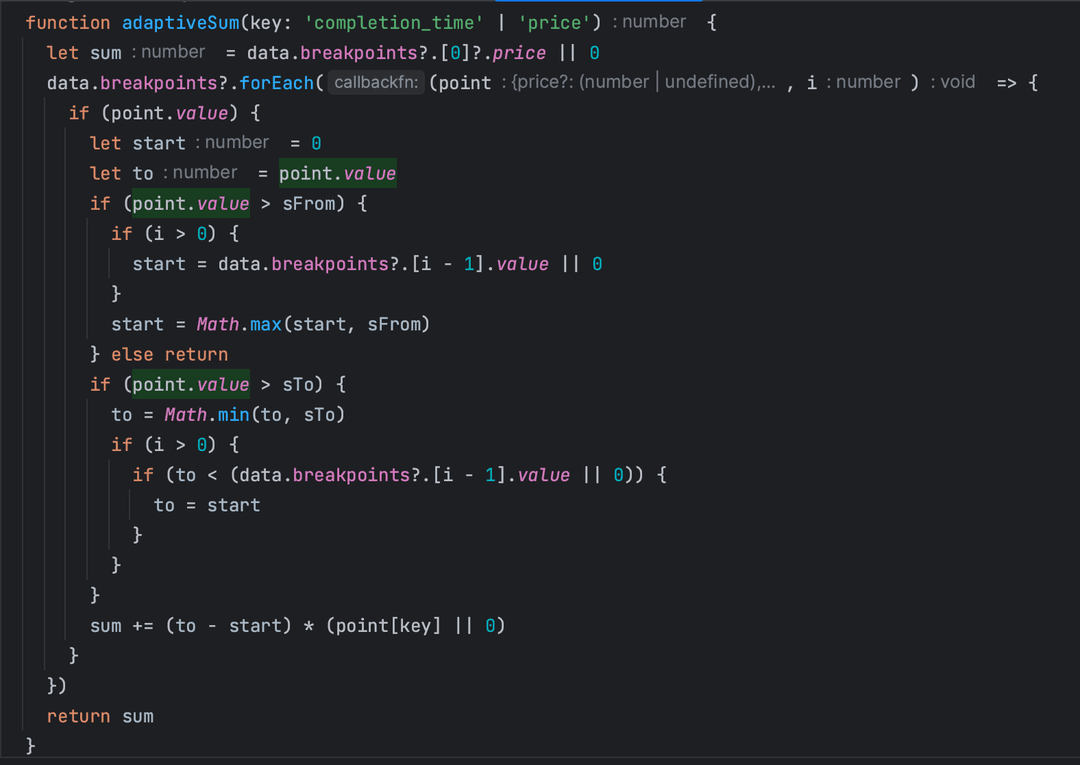
On the frontend, A level up from 15->25 will take 5 level prices from the range 1->20 and the other five from the range 21->25. That way it will display a fare price!
Final note
This project was large enough even without the calculator part. Developing it was fun and challenging as I dwelled into the flexibility provided by Sanity.
To any other frontend developer I would recommend to learn about CMS like Sanity not only for complex tasks like these, but to make even simple landing pages customisable for the product team.
Other than content management there is a whole lot of things happening that are pretty straightforward and not worthy of this blog. I will give a brief detail about it.
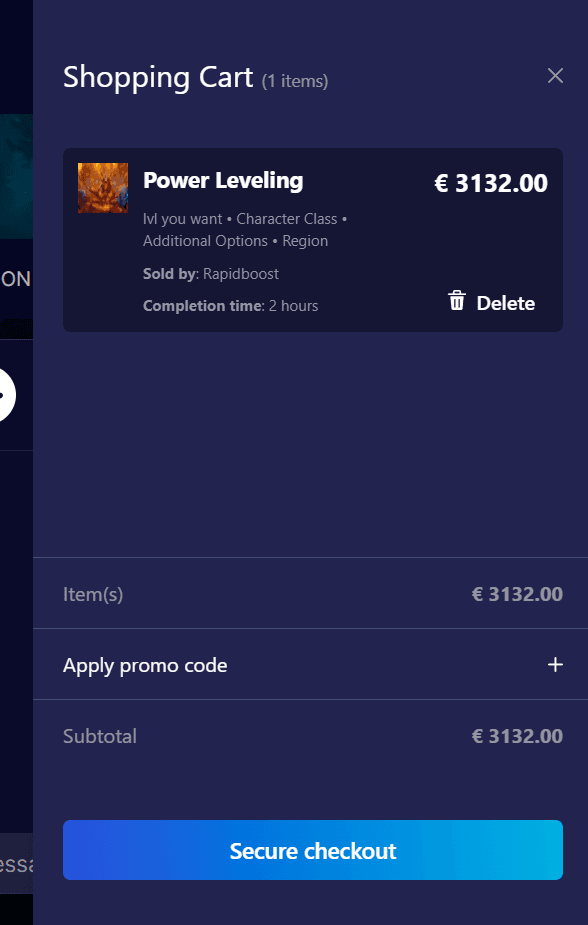
The checkouts were all handled by React Global Context and Paypal. The orders were stored and fetched in Firebase. The orders updated their stage In-progress, Delivered, Accepted, etc. based on user inputs.
Each order is assigned to a booster which is managed by an Admin panel, where the admin can dynamically add/remove new boosters. Once assigned the booster works on the order and delivers it to the user, once the user accepts it, the admin pays the booster.
There is also a live chat in the order. It is implemented using Firebase Firestore events. Other than P2P chat, there is a Live support chat integrated using Intercom.
The order search is cached on the server. So the first search request takes time but the upcoming ones that have already been searched for are instantaneous.
There is a currency switcher, which calls a public api for live prices and convert all the prices from euro to usd and vice versa.
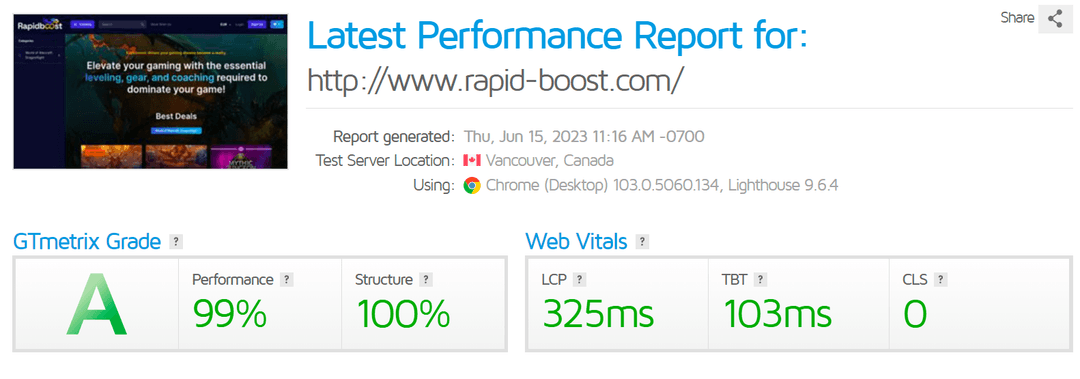
The landing page gives 95+ performance at the time of my handover. The page also has a 100 SEO rating.
Deployment is on Vercel for both Next.js and Sanity.
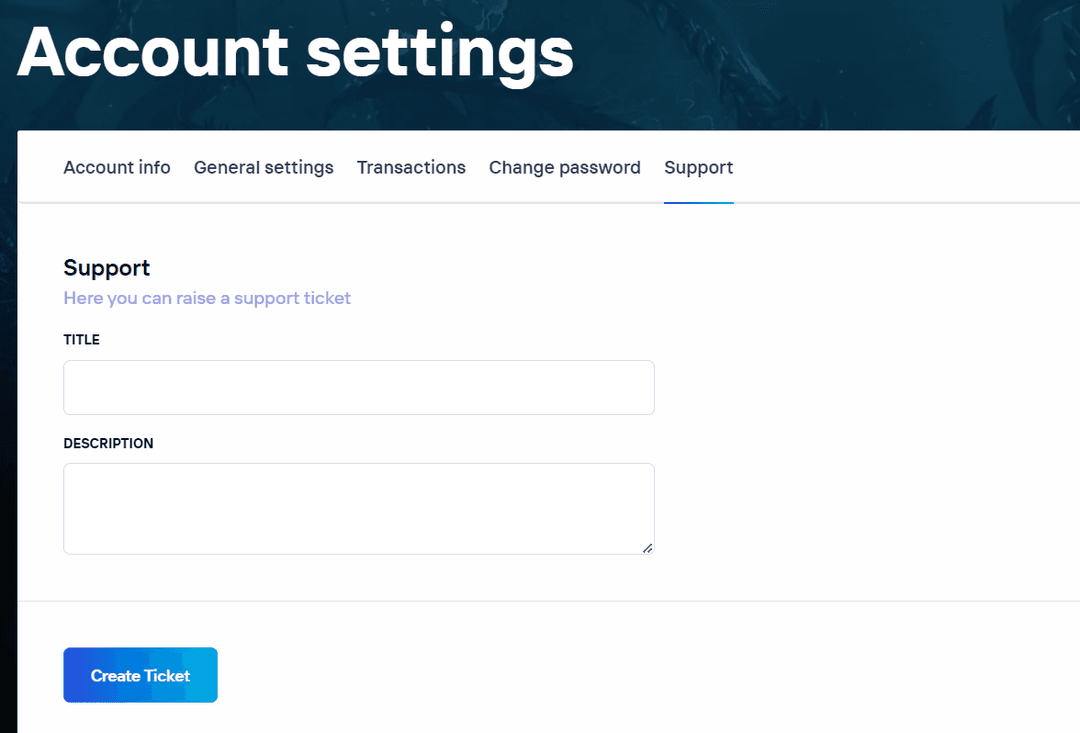
Snapshots
Only public snapshots have been included, the screens for orders and admin panel cannot be shared.
